
Airstream Renovation Process
Hofmann Architecture has 163 followers

TheRealK
Manifold

Road_tri
Archiblo
menosmob
stef1960
rico_w
labillet
SpikeyFi
steeltal
Jean9Mar
SantaBar
The Bathroom
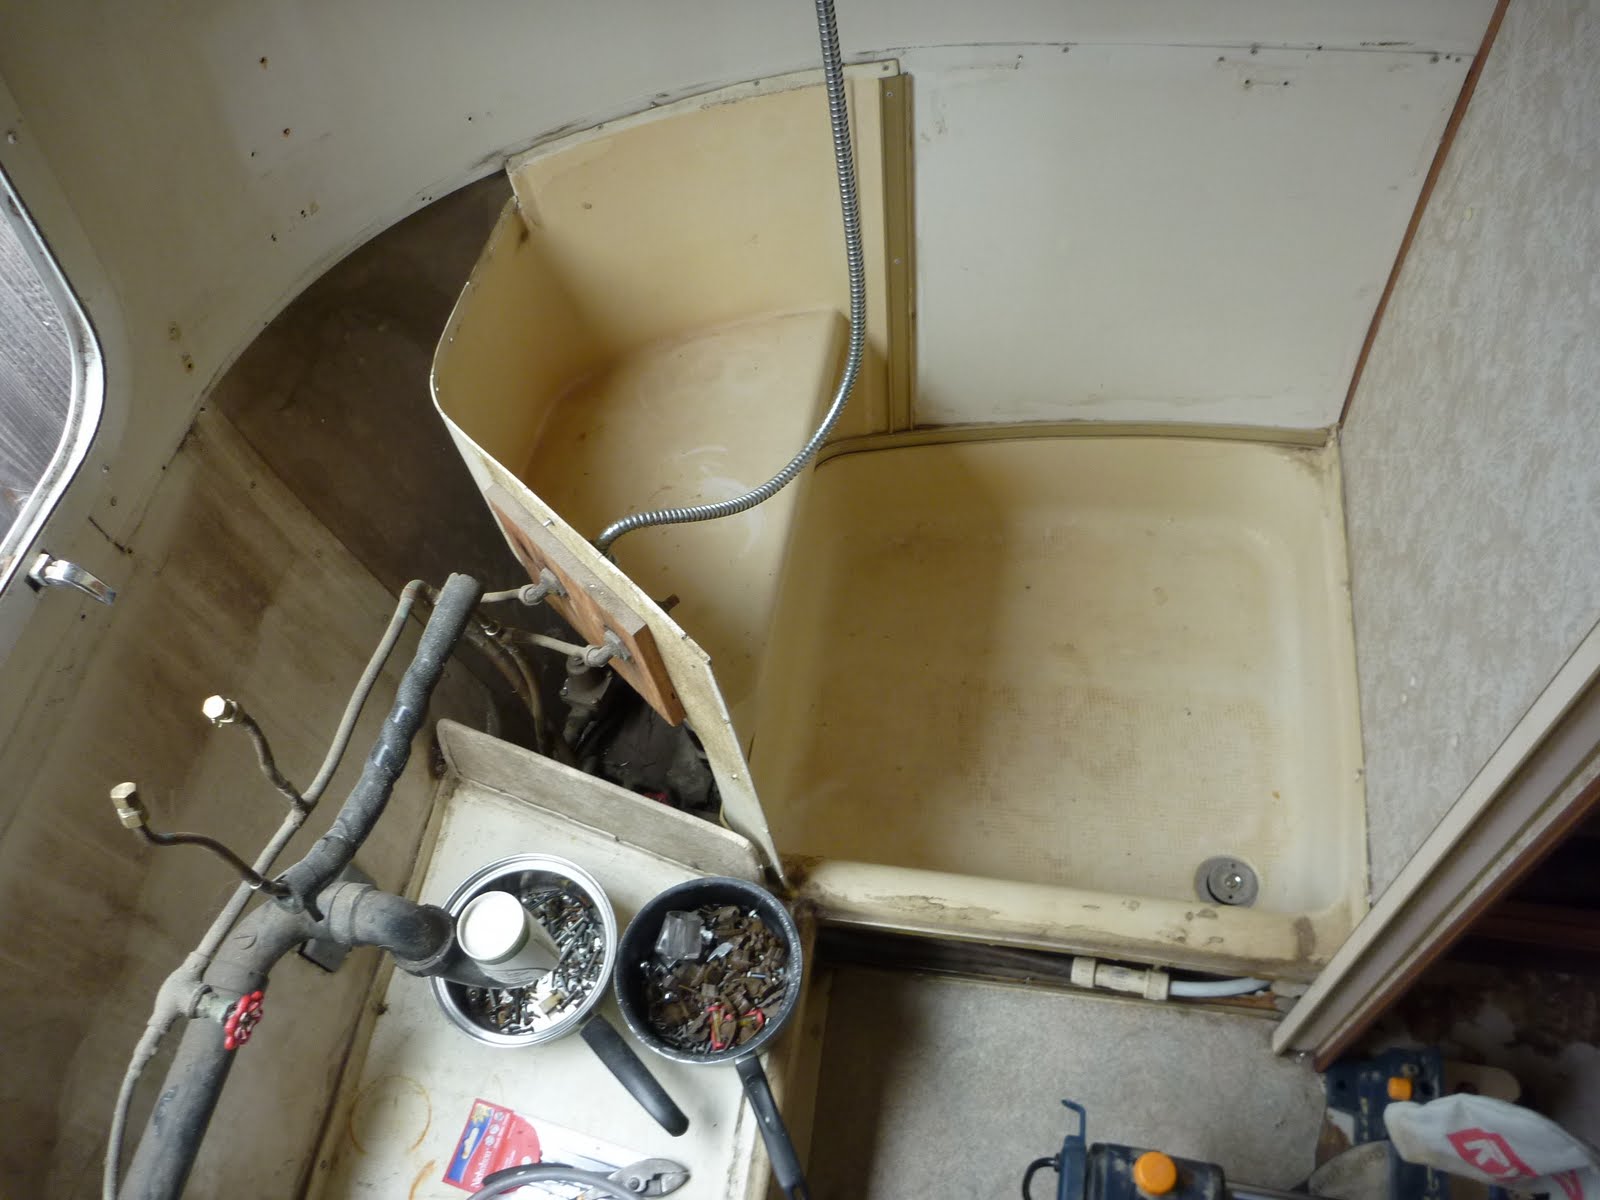
In the beginning I considered keeping much of the original bathroom. This is the first picture I have of what was the original bath - this is actually after I had started demolition. I decided to replace the cabinet, then found a crack in the base - replace the base, toilet’s broken - shower line in an awkward place…. Long story short, I had a relatively blank, very curved canvas to conceive a brand new bathroom.
|
|
| At one point, I was considering keeping the fixtures - maybe just a little paint? What a joke
. |
 |
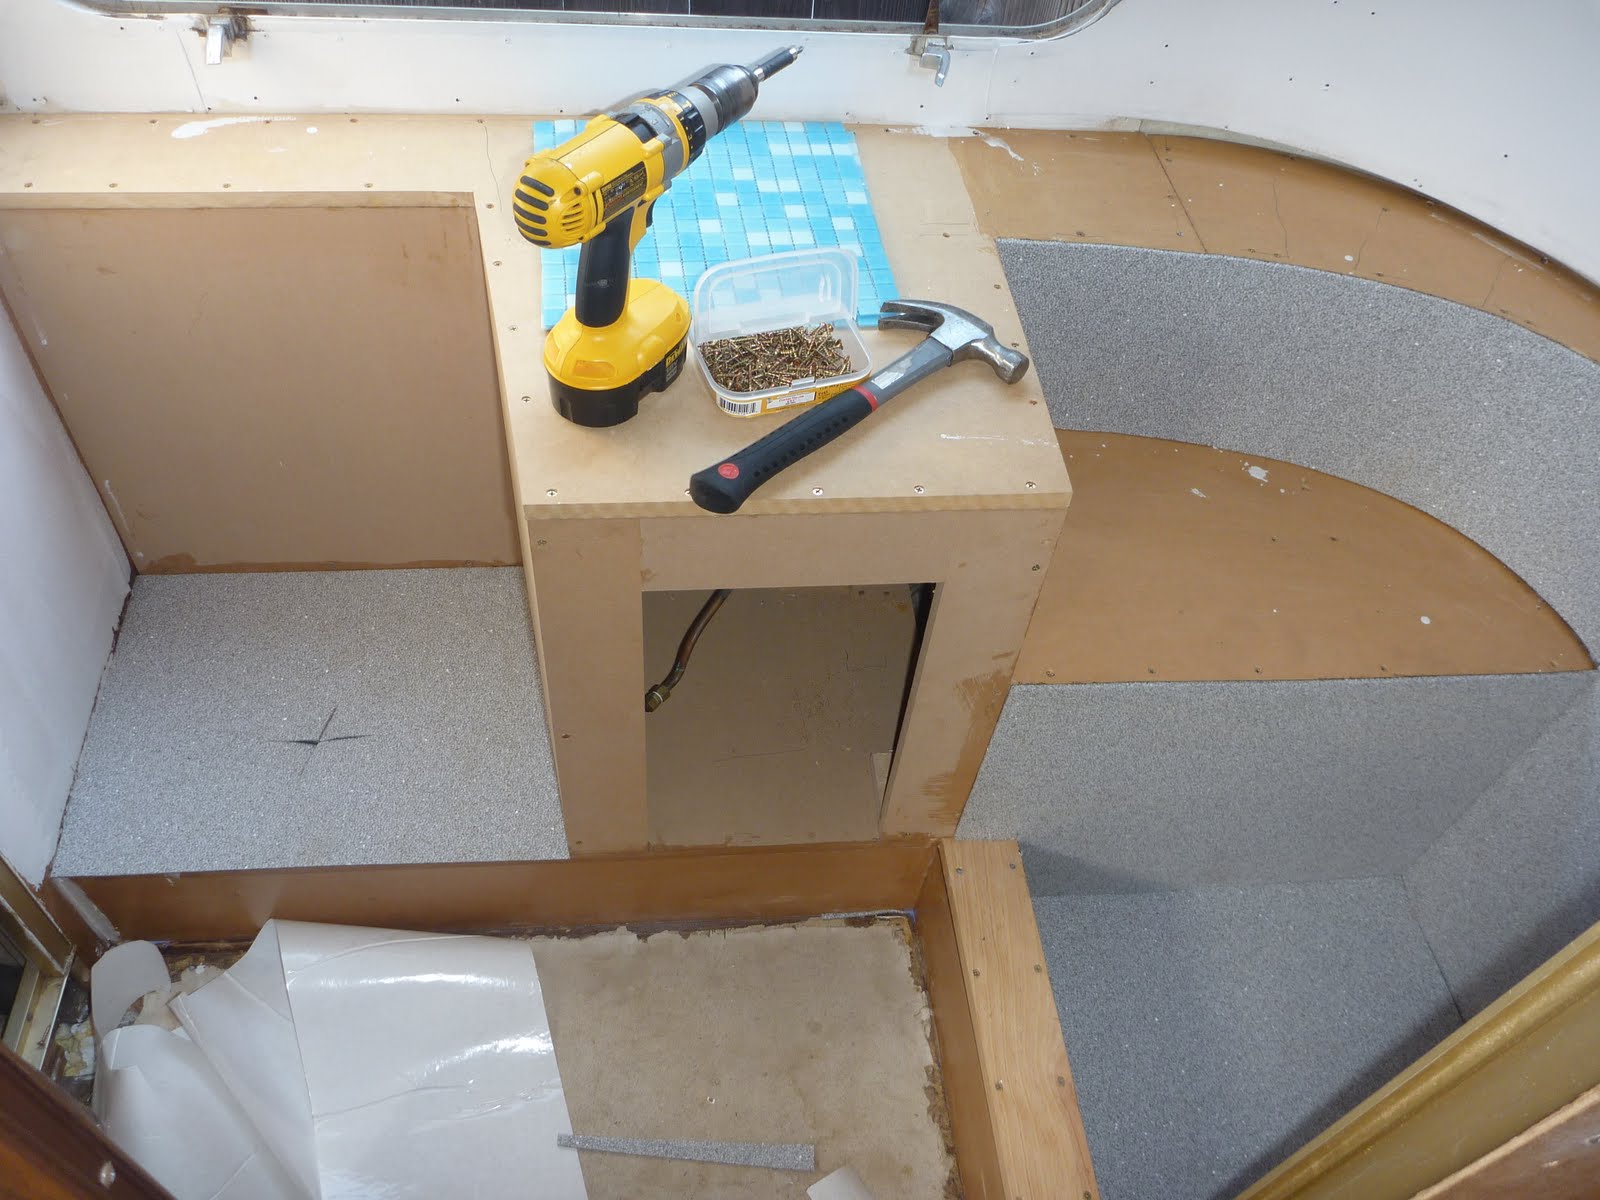
| Here you can see the basic cabinetry and shower base. Ultralight MDF used here, added about 30 lbs. to the back of the trailer. (will need to add some weight to the front for balance.) Need a solid base for the tile installation.
|
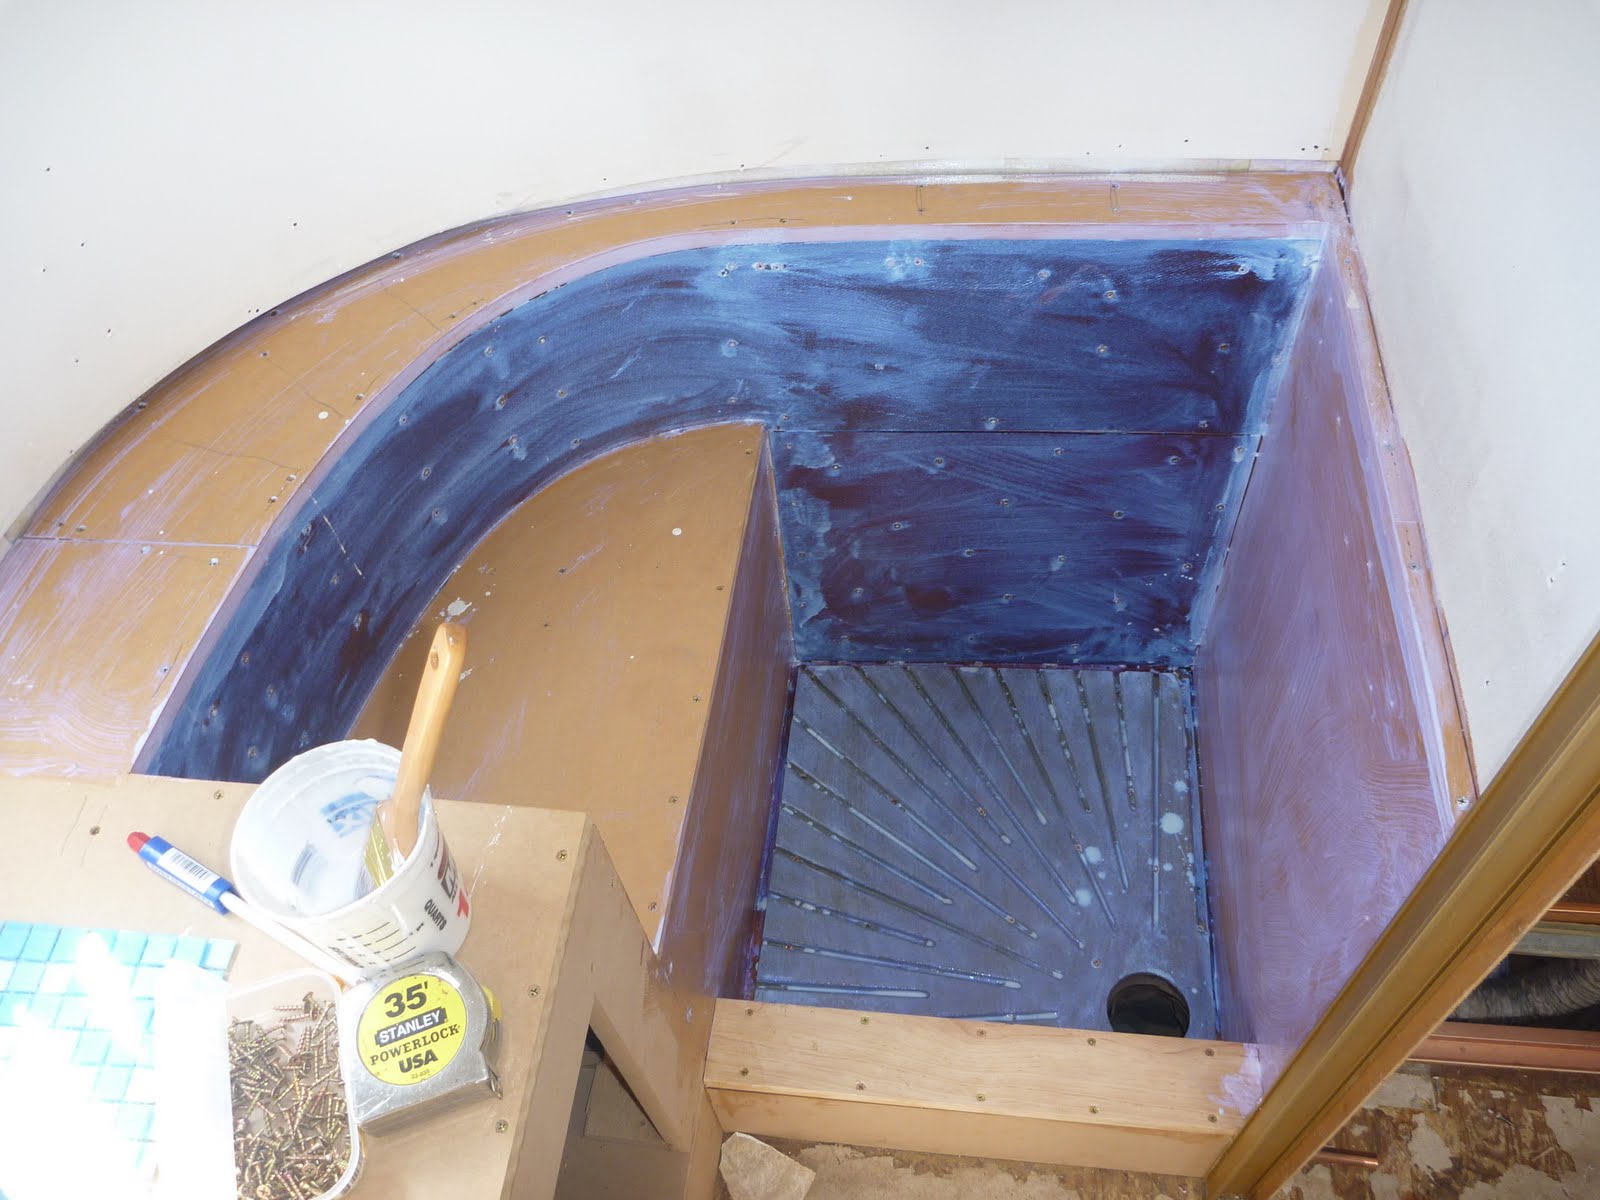 |
| Re-used the shower pan, sloping to drain (replaced). The white iradescent paint you see is actually an adhesion primer to prepare the attachment of the foam backer board.
|
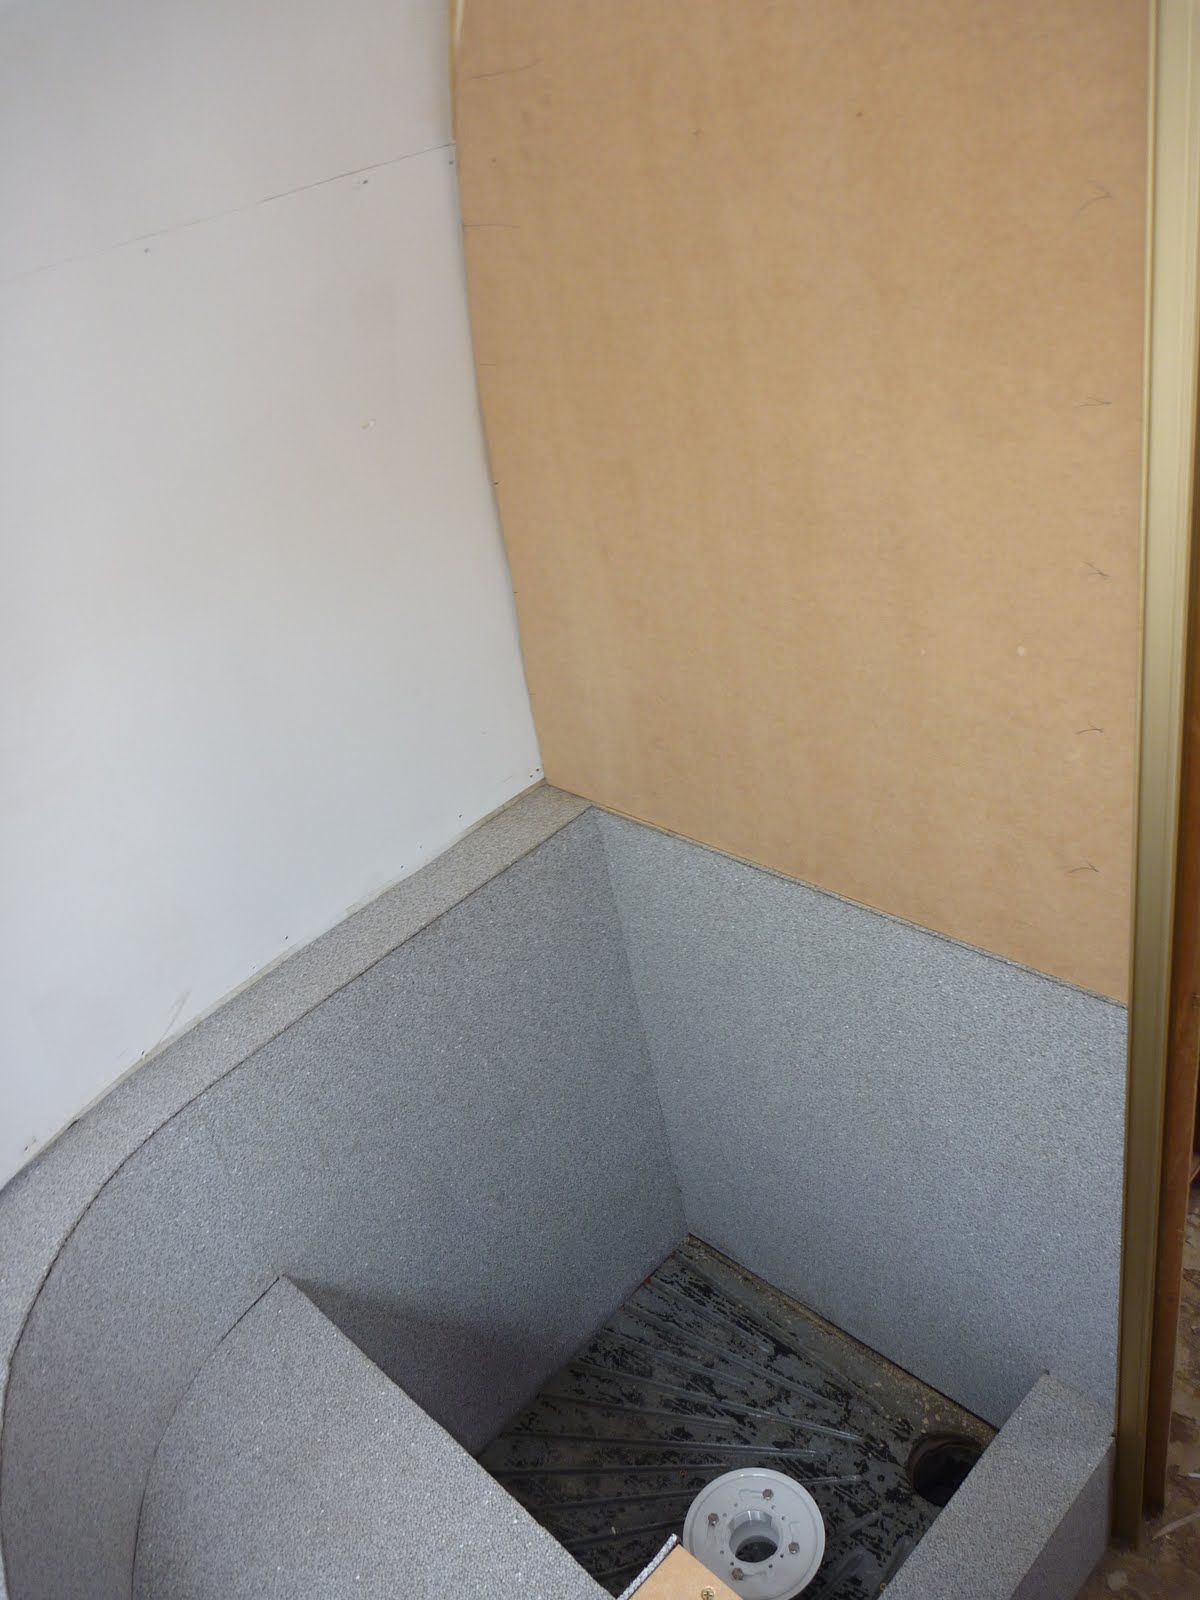 |
| What you see here is straight brilliant. This is a lightweight foam backer (used instead of cement board - and about 50 times lighter.) The foam has bithuthene on the back of it to adhere to the adhesion paint seen in the previous picture. I screwed the foam sheet to the walls every 6″ o.c.
|
 |
| Here is the rest of the cabinet base. Getting the previous toilet out had to be the most heartbreaking, disgusting thing I’ve ever done (was putting it of for weeks.)
|
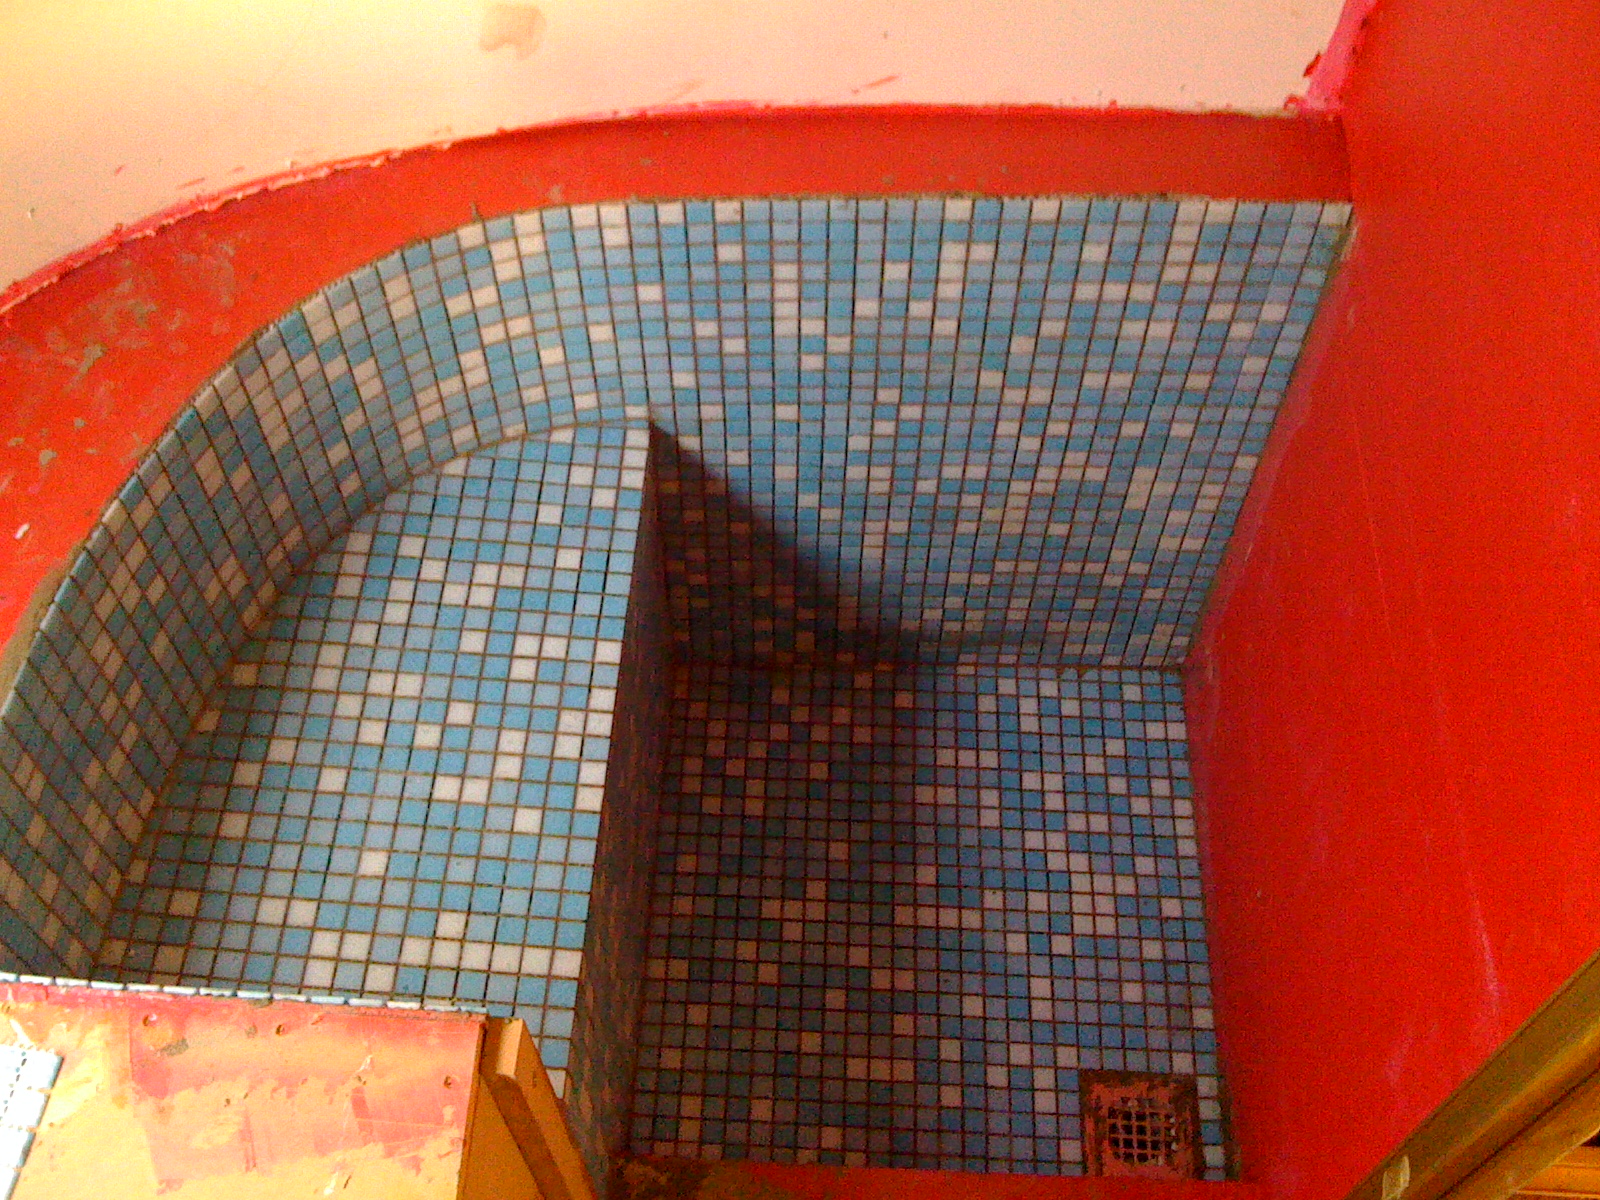 |
| Red-guard adheres to the foam backer to waterproof the shower and surround. Check out the tile! Very thin (1/8″ thick) glass tile that is 100% recycled. The tiles are only 3/4″ wide to minimize any cracking.
|
 |
| Here’s the tile before the grout. I moved the shower controls to the wall (upper right.) Learned to saulder at this point - which is actually quite fun. I’ll take a picture of the rats nest of copper tubing I created to get the plumbing up to this location. Really hoping my sauldering skills are up to par - but expecting a few (or more) leaks to repair.
|
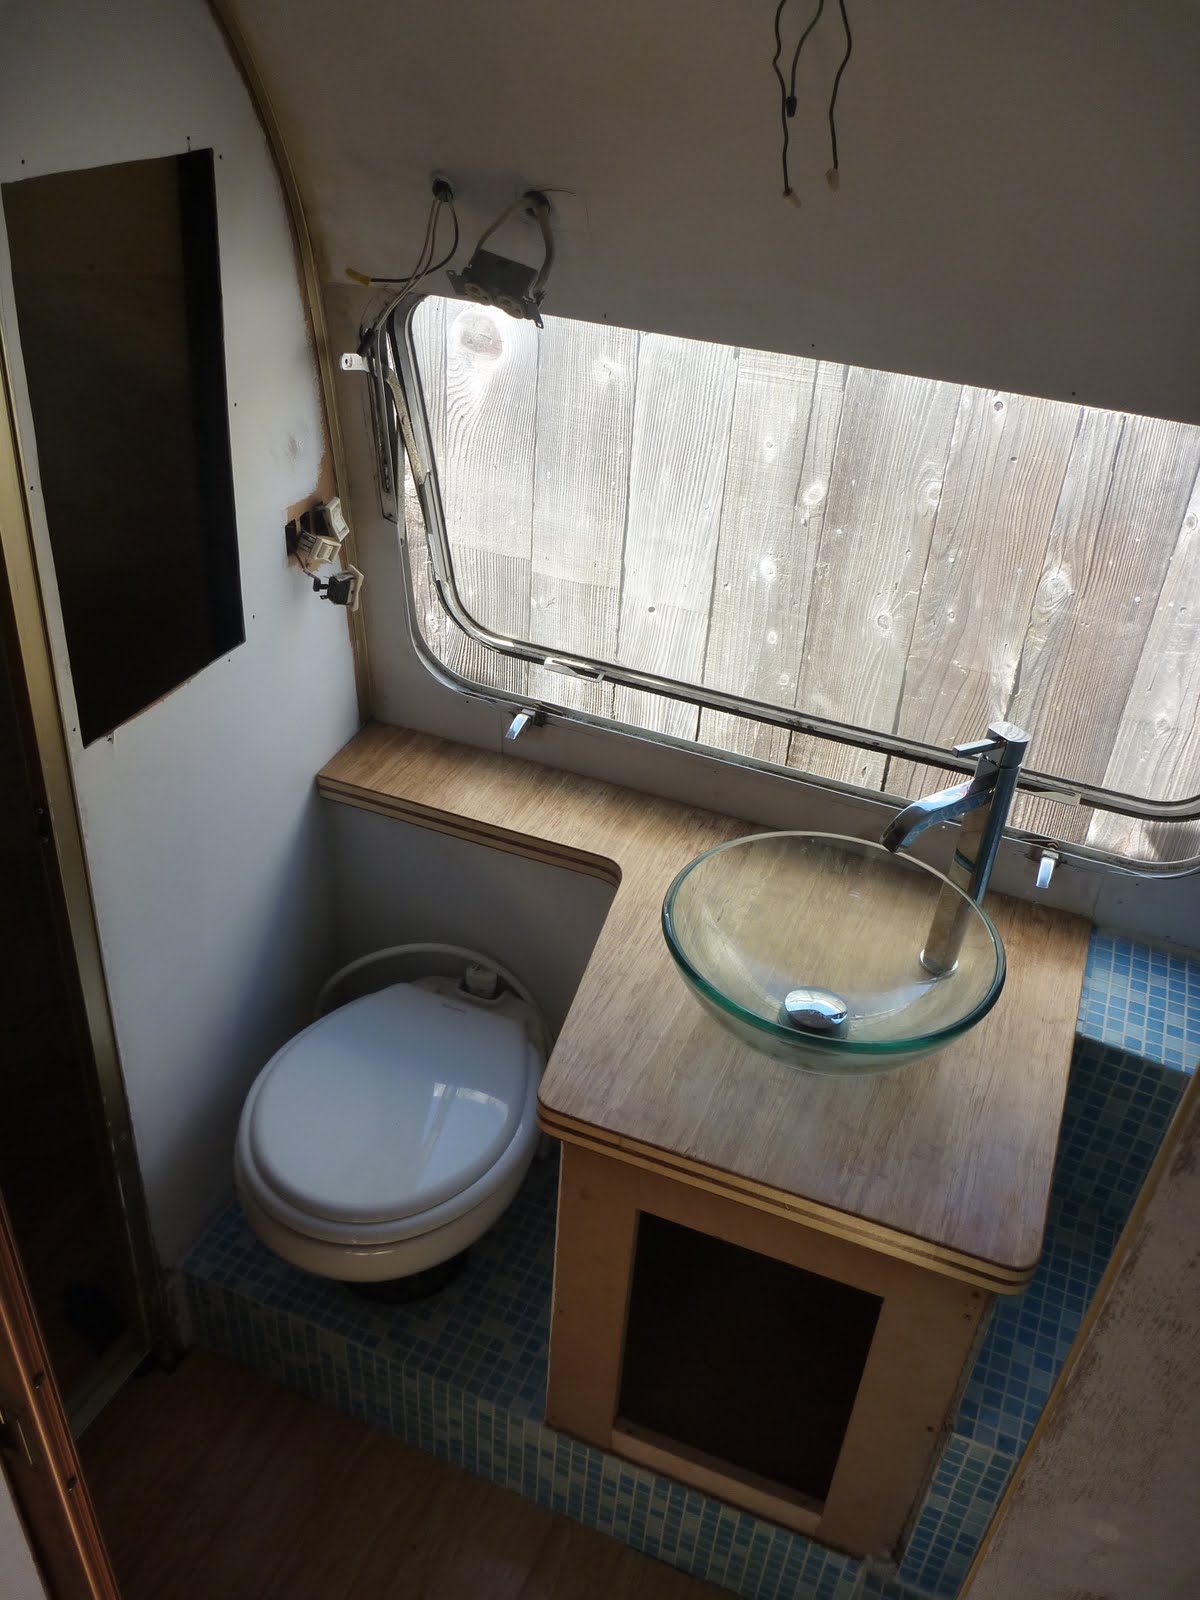 |
| Toilet’s in! Vessel sink with countertop mounted faucet bring the apparent height for sink up about 8″ - the countertop could only be so high due to the window here. Strand woven natural bamboo countertop - significantly sealed for water resistance. The edge banding of the counter is beautiful. I laminated two sheets of the bamboo plywood together at the edges to give an apparent thickness of 1-1/2″ and cut down on weight. Removed the old medicine cabinet - need to find a very narrow (12″) but tall, mirrored cabinet here.
|
 |
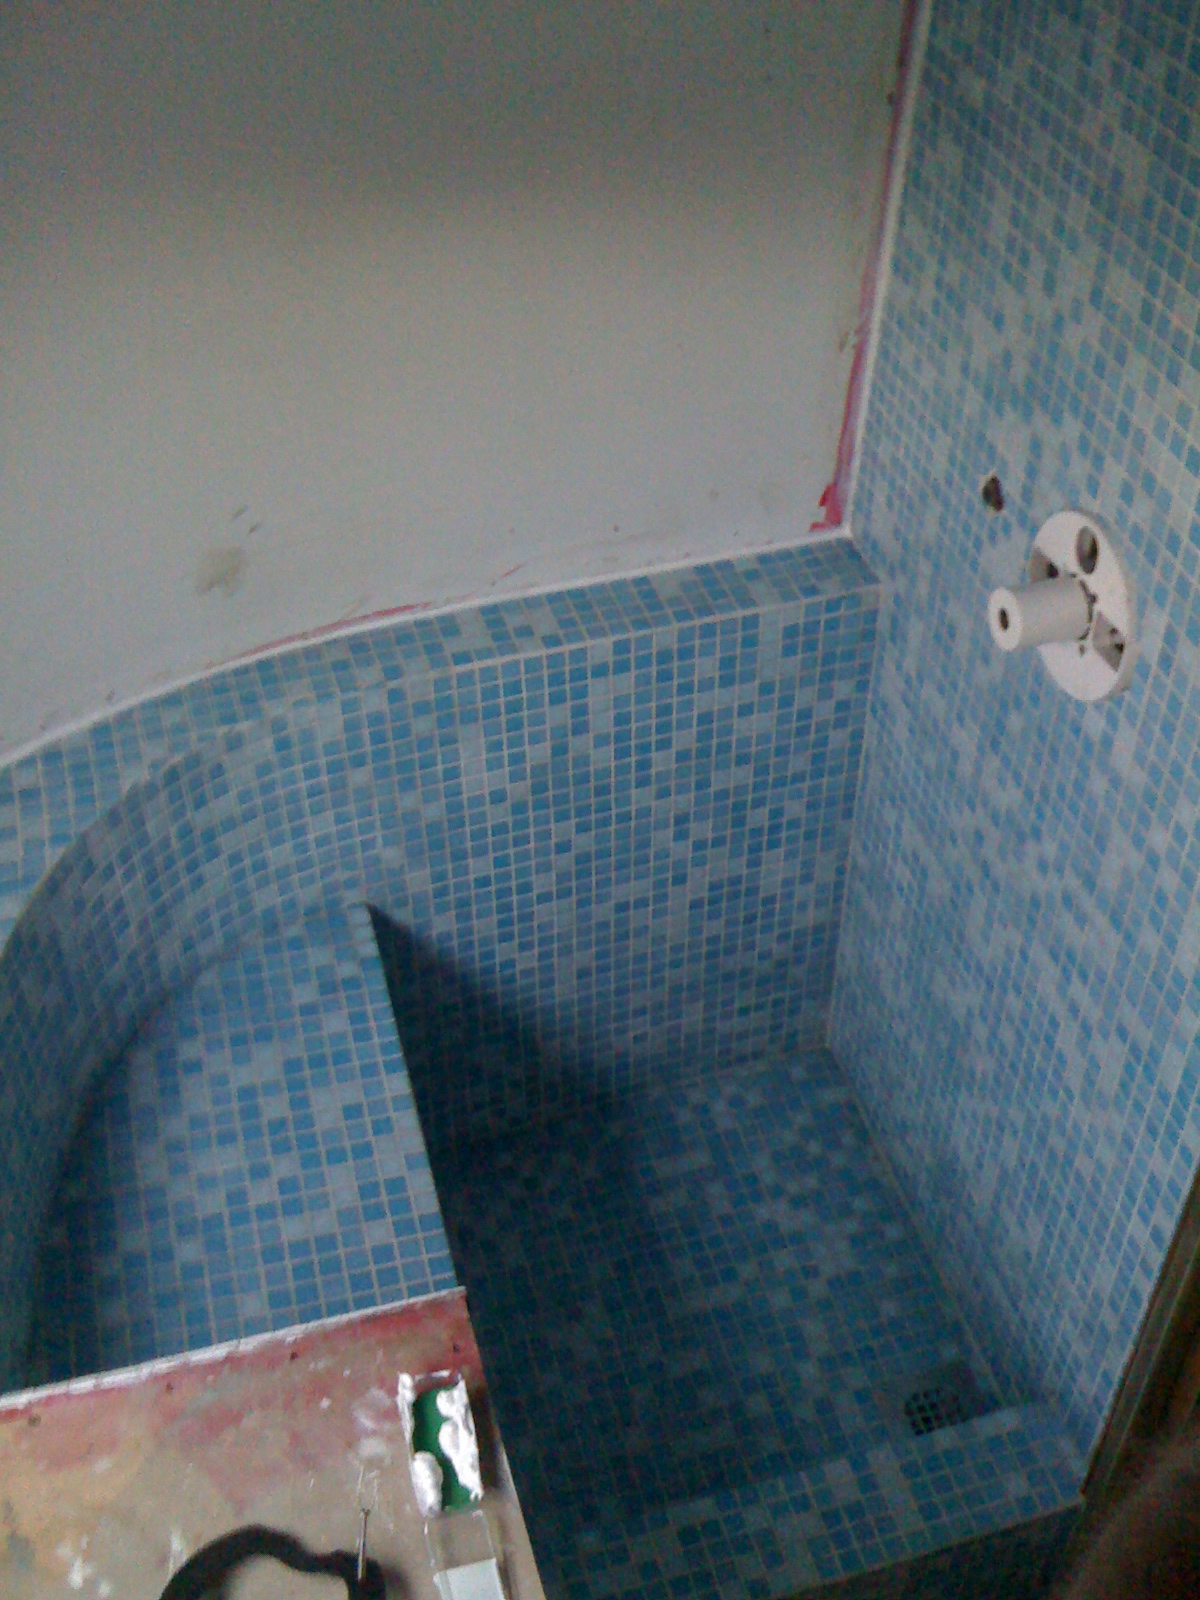
| Grout’s in - bath is not quite finished, but darn near close! Need to consider a light fixture for this space. I would really love to put a 3-form style door to the bathroom - a pricy element if i decide to do it!
|


The bathroom looks awesome, very serene. I have two quick questions: How do you attach stuff to the wall without worrying about puncturing the aluminum? And what made you decide to go with a low-flow toilet instead of a composting toilet?
Thanks again for this behind-the-scenes look at your reno!
There body is made up of a double walled shell with insulation inbetween (about 2-4 inches depending on location.) A composting toilet may very well be an interesting exploration, though the low flow is very well suited to the RV configuration.
who manufactures the foam board and how thick is it? Have you had any problems with the grout cracking from towing? Thanks
Chris,
Look to your local Home Depot or Lowes. It’s a flexable foam substrate with a Bithuthane adhesive backer. I would say 1/4″ thick. Lots of traveling, no cracking yet.
the bathroom is amazing!!! i am wanting to do a glass tile shower in my 63 airstream safari… my worry is the vibration… how is the tile and grout holding up with movement?? what did you use to attach the tile to the red guard? (mortar or adhesive?)… also did you use a special grout?
looks great
thanks
becki
take a look at this post on our blog for some additional info on the tile installation: http://www.hofarc.com/arp/the-bathroom/
The thin set used was “flex-bond” - with a flexible additive.