

Now here’s what I call “REALLY getting into your work!” The only difference between remodeling a traditional residence and a vintage trailer is the length of the pipe and the tight spaces! Under the sink, for example, you’ve got all the same plumbing parts and connections.
In the photo above, the tile has been placed, grouted and is ready for the commode. Extra care is taken to be sure the base is solid and secure. RV toilets are notorious for coming loose with all the rockin' and rollin'.

Don't you just love this bathroom faucet? It's a "Euro Modern Contemporary" chrome faucet with knobs that fit right in with the styling.
A fish tank nook has been designed into the shared wall between the bathroom and work station. A perfect home for a Beta fish.
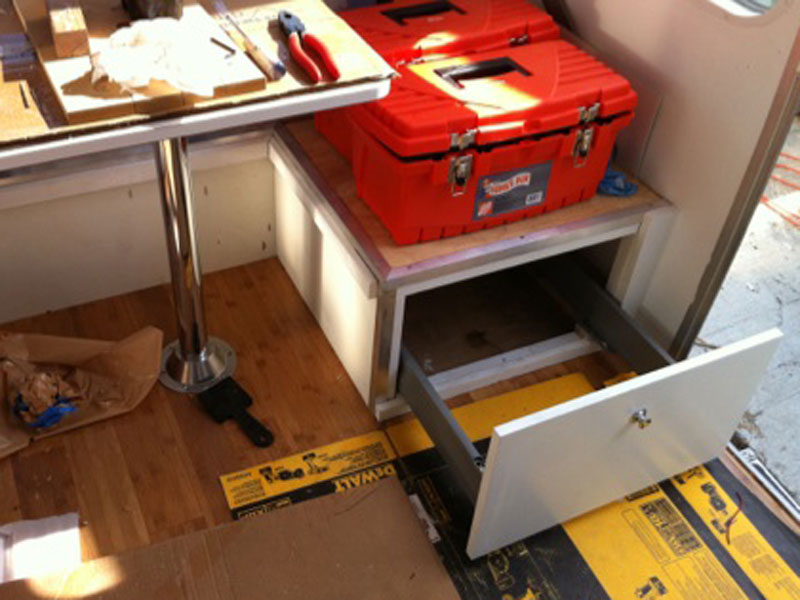
The office work station has a sliding desk drawer and two cabinets. A minimal amount of paperwork is needed, thanks to paperless programs such as "Evernote" which remotely stores all receipts, registrations, warranties and even recipes.
An expandable monitor extension allows for viewing from every part of the interior -- even the bathroom! The DVD player is in the cabinet above.
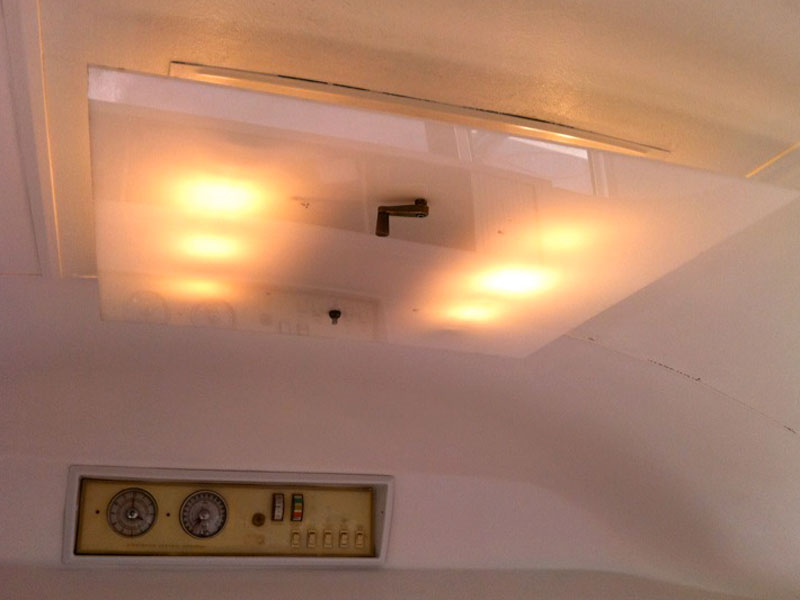
The original lighting has been modified with a defused piece of acrylic for a softer, slightly stylish motif.
Two large slide-out draws are built into the dining room seats that are designed to neatly hold guest luggage.
The dining table has been custom-made to match the bright white kitchen laminate. New mounting bases are securely fastened with Liquid Nails and glued screws. Again, the movement of the trailer is always a factor during the installation process.


I am renovating my 1972 airstream 23 ft land yact to live in full-time. I have found your blog an inspiration. Although I can’t afford to do things as finely as you have done, I really like these uncluttered spaces. How are the upper cabinets given a more modern look? I hate mine and have been struggling to find an affordable solution. The other thing I am wondering was how did you get the super clean and finished walls? I can’t really see any rivets or blemishes in the photos. Lastly, the shower… How did you seal the original panels so water wouldn’t run behind the wall? Thanks for the information. I am an novice when it comes to these things but need a place to live and happen to own an airstream so I am going to try it. Any and all advice is helpful. I have to get into it by 9/1 so I have been rushing it. Thank you!
Good to hear you’re embarking on the renovation journey. Let’s see. The overhead cabinets are a common thread that are reused time and time again in my renovations. Removing the plastic that covers the metal, and using a high quality, latex based paint on the remaining plastic material can give the cabinets a very nice look. I often remove everything, clean it up, and reinstall in select ways to clean up/ modernize the look. Depending on the year, the evolution of these cabinets show a beautiful design at every stage. You needn’t spend much, if any on materials. Just labor for reconditioning and repainting as required.
For walls, I generally clean the surface thoroughly then use a 220 sandpaper to all surfaces. I apply an adhesion primer to the surface, then use a zero VOC paint (usually satin or semigloss depending on the trailer and location.)
The shower is a complex series of parts and pieces that come together to produce a relatively lightweight, flexible and secure solution. Take a look through the “Airstream Renovation Blog” - There is at least one post there that documents this.
Best of luck with your project. Keep in touch!
[...] cabinets, and recycled glass tiles create a delightful space. The architect renovated it himself click here to see Advertisement GA_googleAddAttr("AdOpt", "1"); GA_googleAddAttr("Origin", "other"); [...]